
We were contacted by Solo Stoves and asked to do an honest review on their Solo Stove Lite and the Pot that they sell for the stove. Being that I have cooked in the outdoors for decades, I was very excited to test out new gear. I am always looking for great made gear at a decent price that cooks like a dream.
 So first the specs on the Solo Stove from their website:
Packed size: Height 3.8 inches
Width: 4.25 inches
Weight: 9 oz.
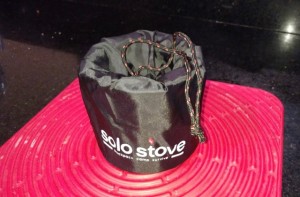
Materials: 304 stainless steel, nichrome wire. Also includes nylong storage bag to protect your other gear from soot.
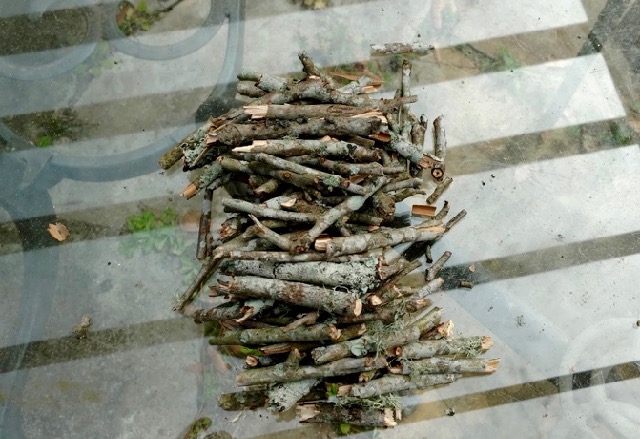
Fuel Capabilities: sticks, twigs, pine cones and other biomass
Boil time: 8-10 mins (32 fl oz of water).
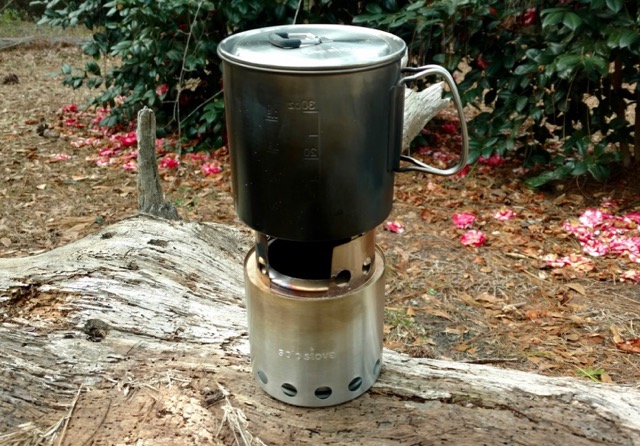
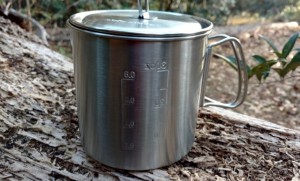 The Solo Stove 900 Pot that can be purchased separately from the stove, or with the stove, is a great pot in my opinion. The specs on the pot:
Size:
Height: 4.5 inches
Diameter: 4.7 inches
Weight: 7.8 oz
Volume: 30 fl.oz (900mL)
Materials: 304 Stainless steel. It also comes with its own nylon storage bag.
In testing the pot, I found that it will hold a full liter of water. This is important to me because when I boil wild water to make safe for drinking, I can fill up my water bottle with the one boil.
Both units arrived in wonderful shape and opening the packing I was quite impressed with the overall fit and finish of the gear. The only piece that felt cheap to me was the stand that fits on the top of the stove, but in no way was it inferior.
Since I am hard on my gear as I expect it to work in a variety of environments, I began trying hard to bend or break the stand. To Solo Stoves credit I could not get it to bend. I placed cast iron on it, I threw the stand several times and let it hit the ground, but try as I might I could not get it to bend.
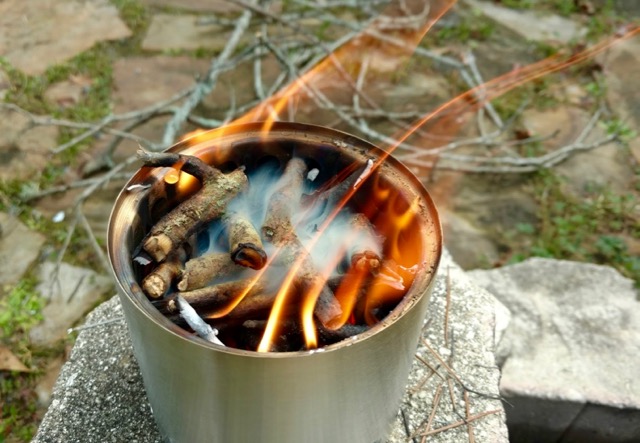
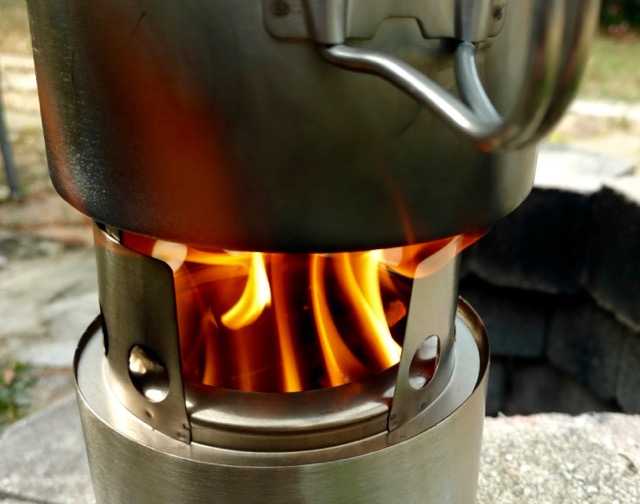
So now on to the cooking review. First the good, I did like the fact the Solo Stove burns any biomass. So I do not need to build a fire on the ground to cook on, so no footprint, no need to process a lot of wood. A quick walk through the woods and in a matter of minutes I had fuel gathered and processed ready to start the fire in the stove.
This is where I began to struggle with the Solo Stove, the stove is sealed on the bottom and the sides. There are air holes around the sides to allow for gasification of fuel, but no way to light the stove from the bottom.
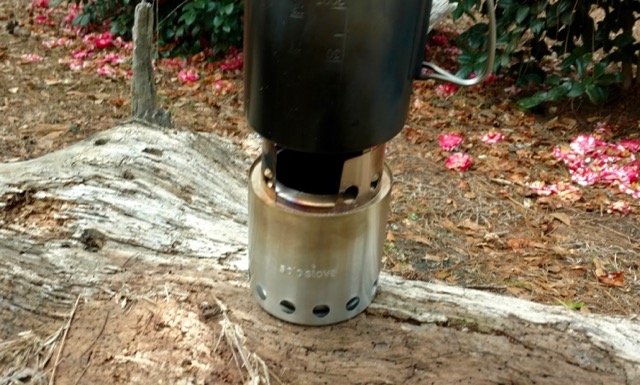
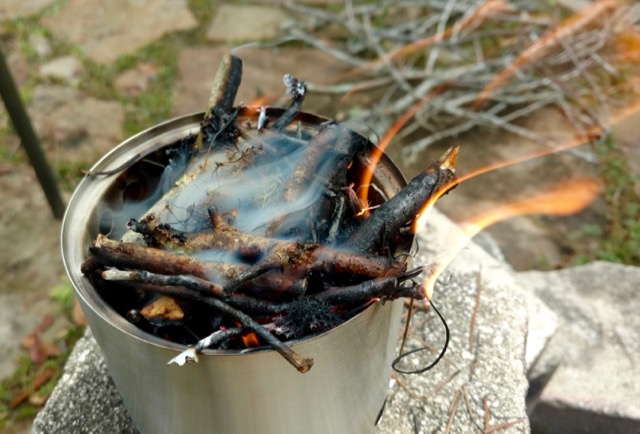
This makes you use an upside-down feeding fire lay, which I have done many times, however for someone who has not done this it can be quite the learning curve. In an upside-down fire, you place your thumb size pieces on the bottom and work your way up to kindling which is placed on top. You light the kindling and allow the fire to self-feed down.
The first time I did this, the length of time before it was ready to cook was 11 minutes 8 seconds. If I was in a hurry, this could be an issue. However, as with anything this process with practice will improve and with that I have gotten that time down to 4 minutes 10 seconds. At that point the wood gasification has begun and you can place a pot on the Solo Stove and begin heating the water.
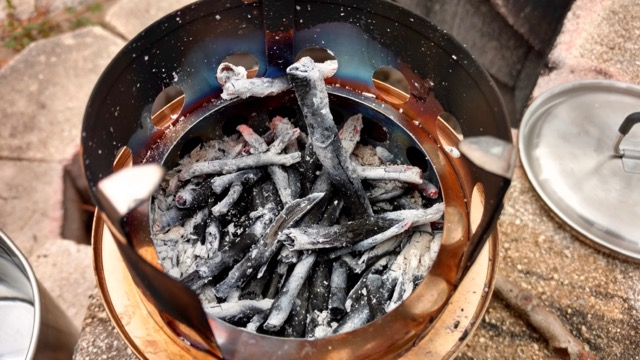
Solo Stove states that boil time is between 8 to 10 minutes, however I am not sure of the amount of water they are referring to during that time. The very first time I boiled a full liter of water, the boil time was 22 minutes 34 seconds consuming two pounds of pecan twigs. Once it reached a boil I stopped feeding the fire and recorded how long it simmered which was 6 minutes 28 seconds.
So once my food was ready, how long would I have to wait before I could pack up the Solo Stove and be on my way again? The cool down time was 4 minutes 31 seconds. With all that being said, lunch took a total of 44 minutes 40 seconds. I have to admit that at this point I was not impressed.
Let’s talk price, the Solo Stove costs $69.99 from their site and does include a storage bag. A comparable stove design, such as Four Dog Stove’s Bushcooker LT II in titanium is $80 without storage bag or accessories, however, it is titanium making it lighter, corrosion resistant and quicker cool down time — things to consider.
In conclusion this stove has left me with more questions than answers about whether or not it would make the cut to go in my pack. Further testing is in order and I will be doing a separate review in a battle of the stoves, specifically a head to head comparison of the Solo Stove against my favorite stove, the Fire Box Nano. I also will be doing a review of the Solo Stove 900 ml Pot, which I have fallen in love with, it has replaced my pots that I have carried for years.
See you on the trail! With a biomass burning Stove, time afield is now endless, what is your excuse, GET OUT THERE!


[…] here to view the original […]